Getting Started With GuruQore: How To Create Your First Invoice?
admin
March 26, 2022
Blogs
Creating an invoice in GuruQore is as easy as 1, 2, 3 and will take you less than 2 mins to create one. Before we begin, in case you want to activate online payments in your invoices, please fill & verify your bank details in the profile section. Let’s get started.
Click on the (+) button & then create invoice.

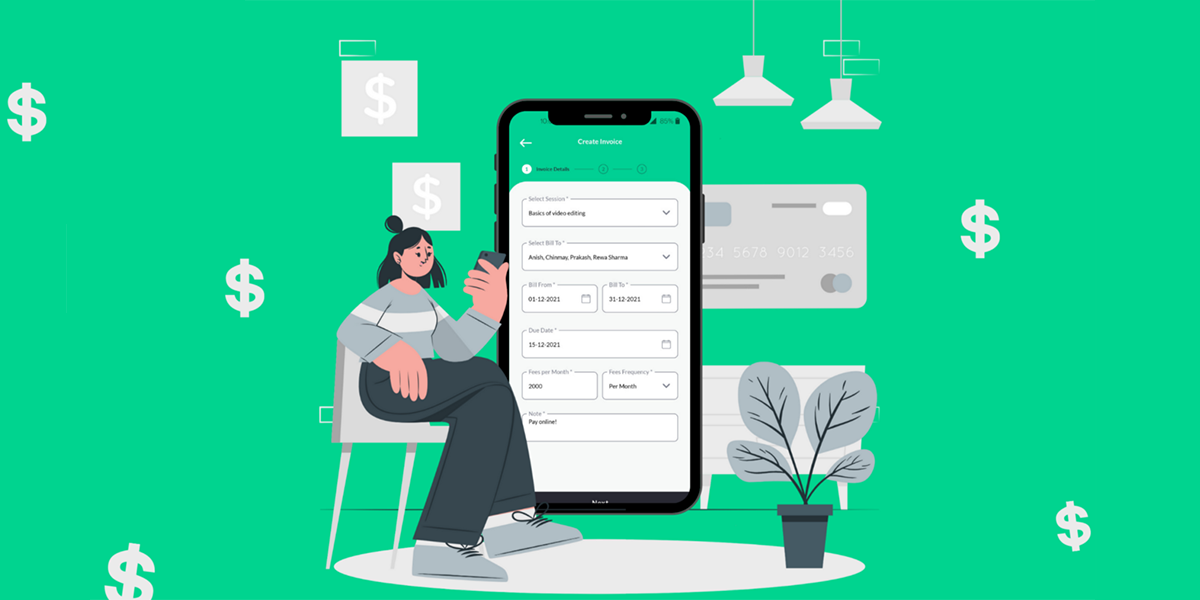
Select Invoice Type: Select the without (w/o) session option to go to the invoice information page:

Service & Client: Start by writing the service for which you are creating the invoice under ‘Service Name’. Then, Add Client by clicking on the ‘New button’. Once you add a client, you will land back on the same page.

Dates: Select ‘bill from’ & ‘bill to’ dates which relates to your service delivery period. Enter the due date, which signifies the latest date by when you want the payment to be made. This date also triggers payment reminders from the system, so make sure you allow some gap between your invoice creation & due date.
Fees: Select your ‘Fees Frequency’ as per class or per month & enter your fees amount. Add a note if you have anything specific to share with the client regarding the invoice or your payment. Click Next at the bottom of your screen.
Confirmation: Recheck and update your fees frequency & fees amount if required. Click Next. Confirm your invoice details & click on Create .
Share: Once created, the system automatically sends an email & SMS to your client with the invoice link. You can additionally share it via your personal mode of communication with the client from the invoice section.

Update: If it’s an online payment through our payment gateway, the payment dashboard will get automatically updated. In other cases, you need to go to the invoice, click on the triple dots & click ‘add payment’ to update the dashboard.
There you go! You have successfully created your invoice & managed your payment cycle via GuruQore.